SwiftCloud contains a comprehensive messaging suite, including email tools.
This article is focused on specifically setup of your inbound email.
Here’s what you need to know:
Step 1 of 2: Enable “IMAP” on your email service.
Click to learn more.
- Gmail / Google Mail (IMAP is disabled by default and must be switched on – easy; you’ll also probably need to click here to generate an “App Specific Password” and 2FA (2 Factor Authentication)
- Yahoo Mail (IMAP is enabled by default) – Details here
- Microsoft Exchange / Outlook (not enabled by default, must be switched on)
- GoDaddy & other direct hosting providers
- AOL
If you have email set up with someone else / some other company than the above, just search their help system for IMAP, and you should find it – this is a common request and common protocol format.
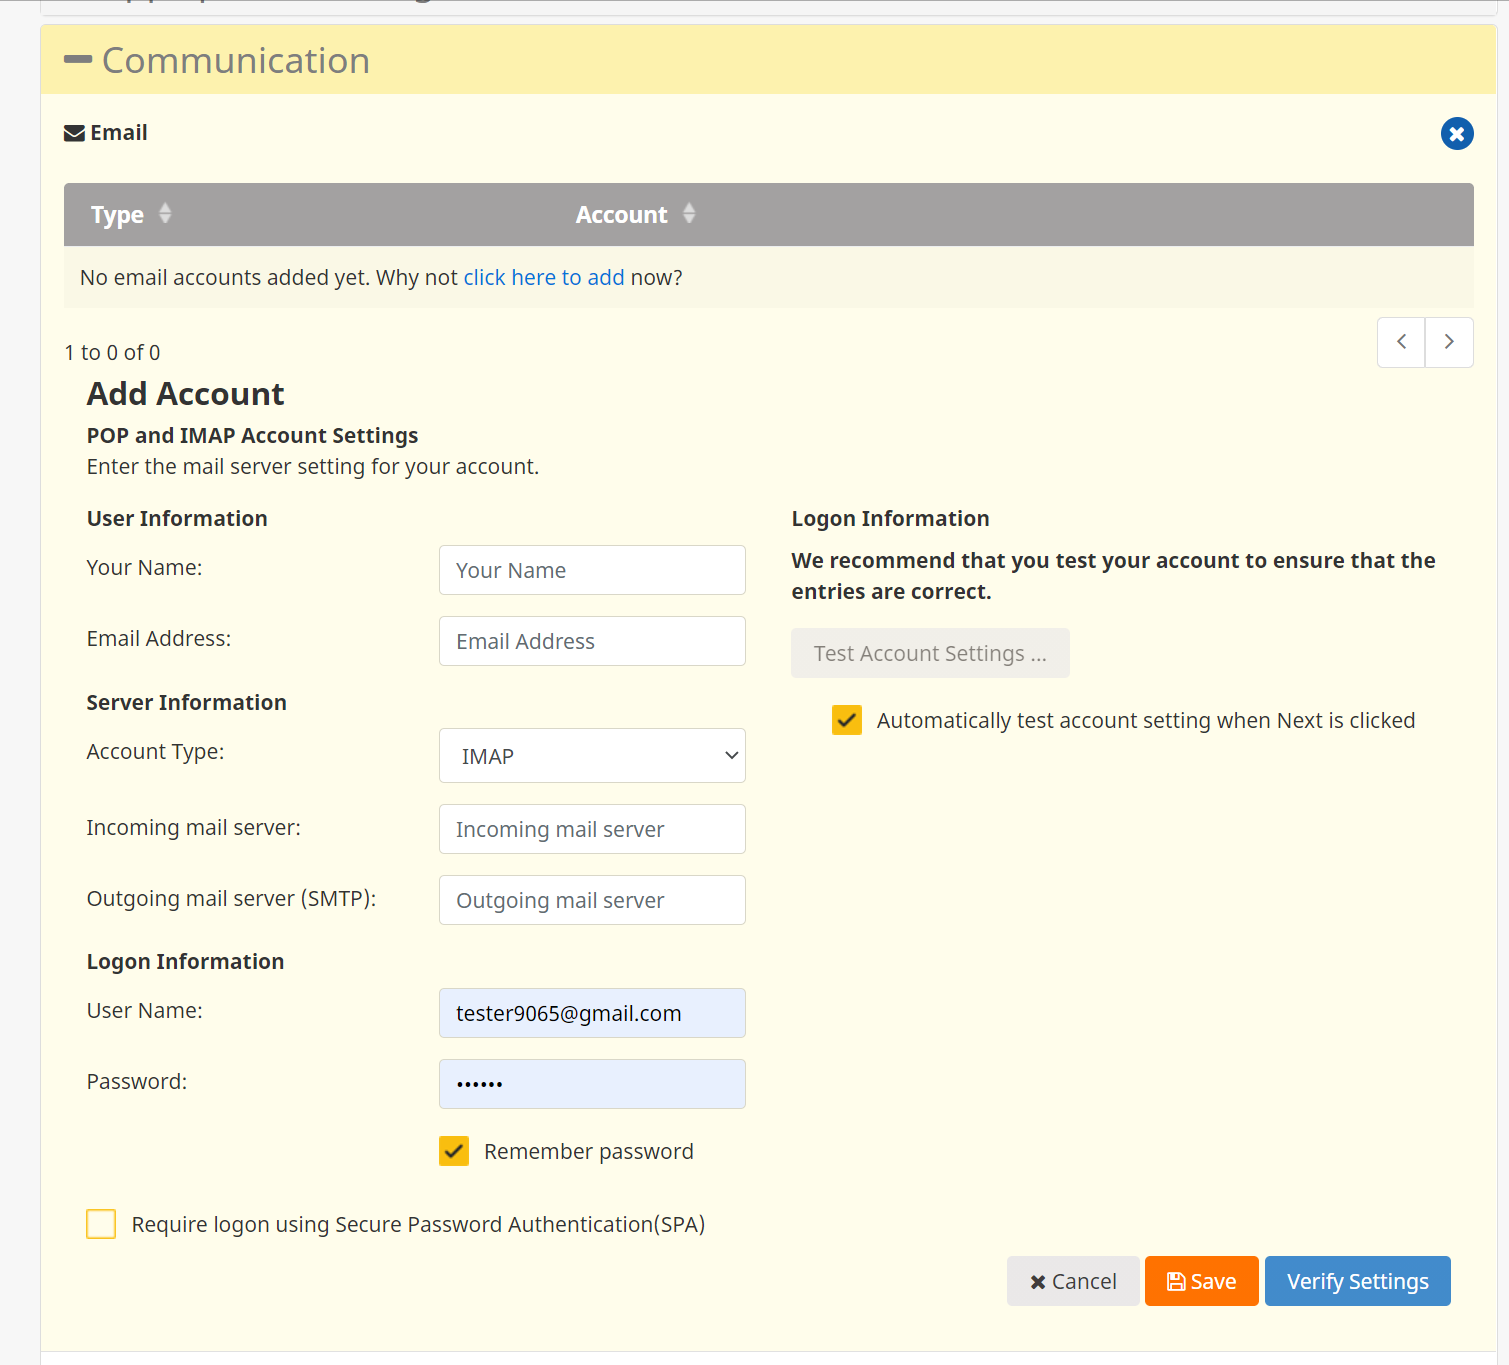
Step 2 of 2: Add those settings in SwiftCloud
TIP: You can setup multiple accounts in SwiftCloud; also, with enterprise accounts, multiple people can check an inbox – i.e. 3 sale reps can share access to [email protected]
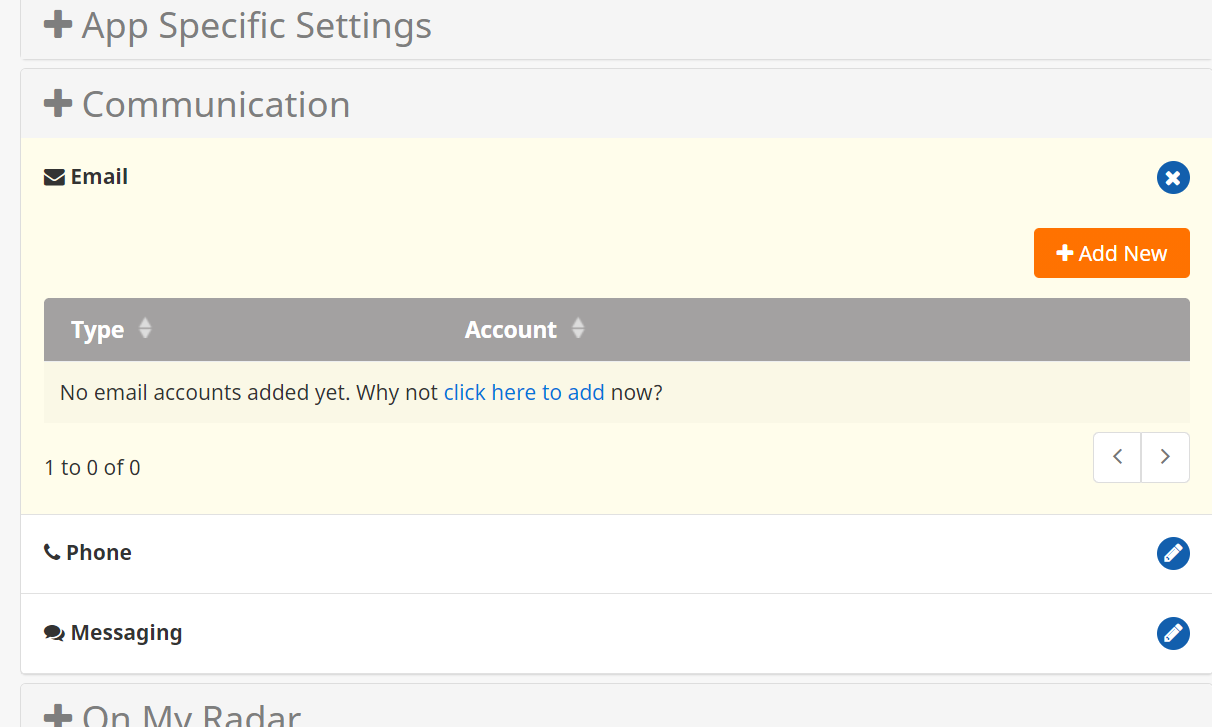
To add them in, simply click to your main settings page (Gear on bottom left >> Edit Profile), then scroll to the far bottom “Communication” >> “Email” section.
Click Add New…
Add your details in there and click save.
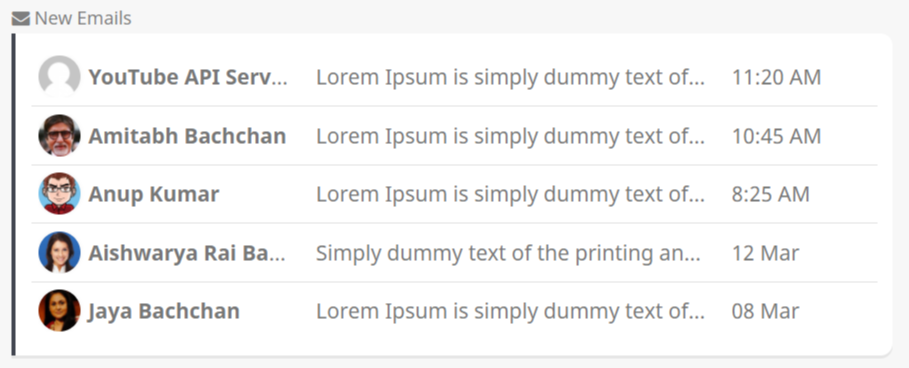
Incoming new emails will show on your home page, in the blended news feed – just click the logo far top left to go to your homepage anytime (you of course must be logged in). By default, we’ll show the 10 newest messages, but over time our system will get more advanced.
TIP: Your home feed shows a blend of multiple incoming message types including if configured, SMS and voicemail, with other channels coming soon.
As usual, if you have any questions, let us know and we’ll update this entry.
