NEW: This is now in public beta, free for all of 2021.
This is the support help file, not the main product sales page for our Appointment Scheduling Software / aka SwiftSchedule.com + SwiftCalendar.com
We’ll have a sunrise “grandfathered pricing” offer when we launch.
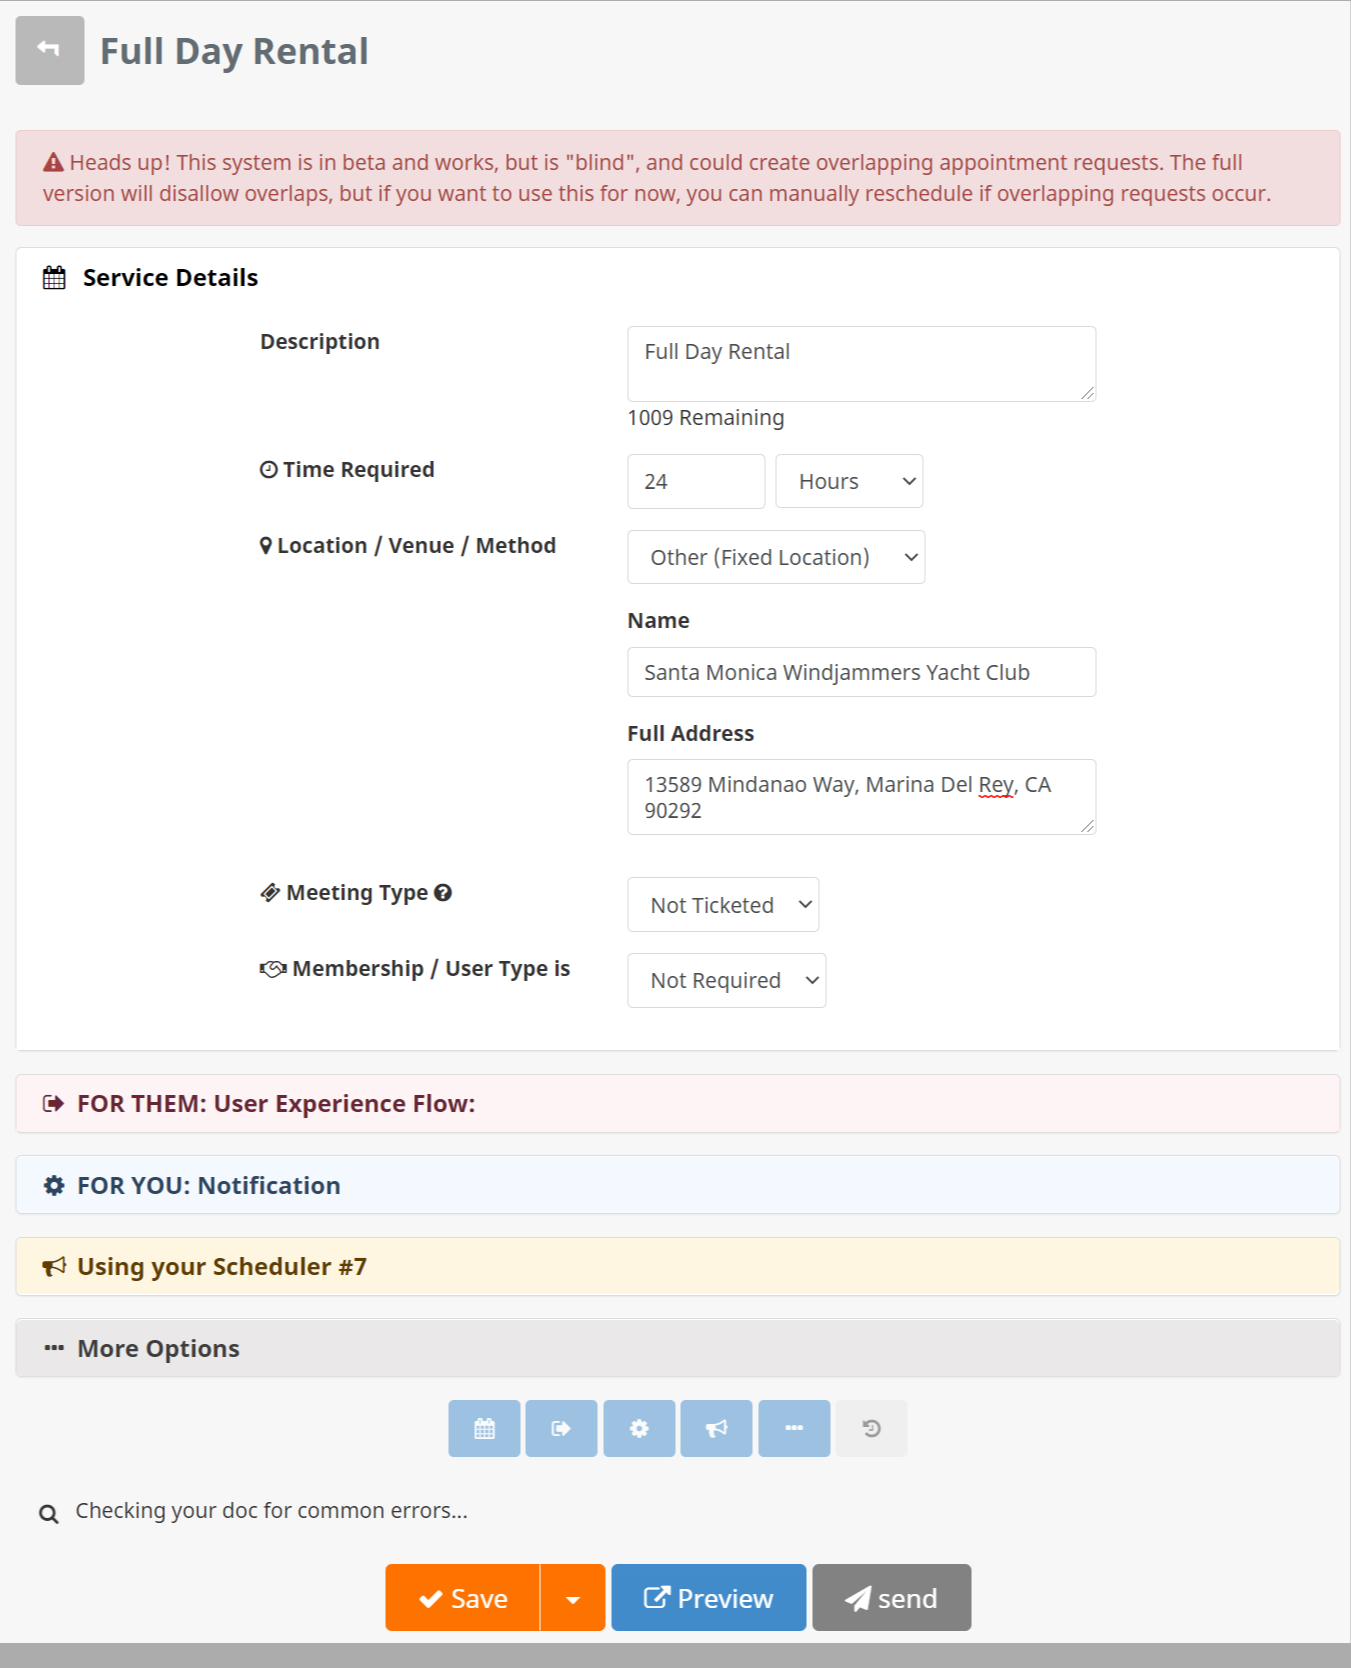
Note: The scheduler works but is currently “blind” (could create overlapping appointments for now) and not yet recommended for high-volume use. If you get an overlapping appointment request, you’ll need to reschedule it. If you are using for lead generation it should be fine.
TIP: See Sequences for Appointment Reminder Software – of course these will be 100% integrated.
Appointment Scheduling Software Setup Process:
- Create the asset or person for whom or for what you want to schedule. This can be a person or thing – sailboat, snowmobile, boardroom, hotel room, party rentals, surfing class, or a person – Suzy the hair stylist, etc.; we’ve built it in this way so that you can either setup a scheduler for just yourself – i.e. sales mode, or for a whole team – salon mode – or a whole fleet of boats, whatever you prefer.
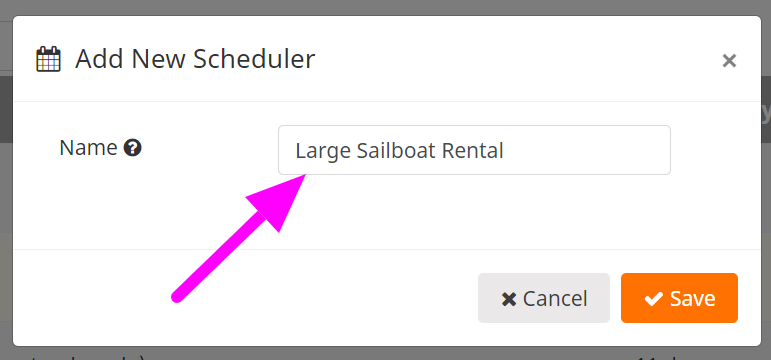
- Go to Main Drive >> Add New >> Scheduler.
- Next, give it a photo and description. Again, this can be you, someone else, an asset, a location, whatever. It will default to your own info, but you can change it, so if you want a scheduler for yourself, you can just close this section.
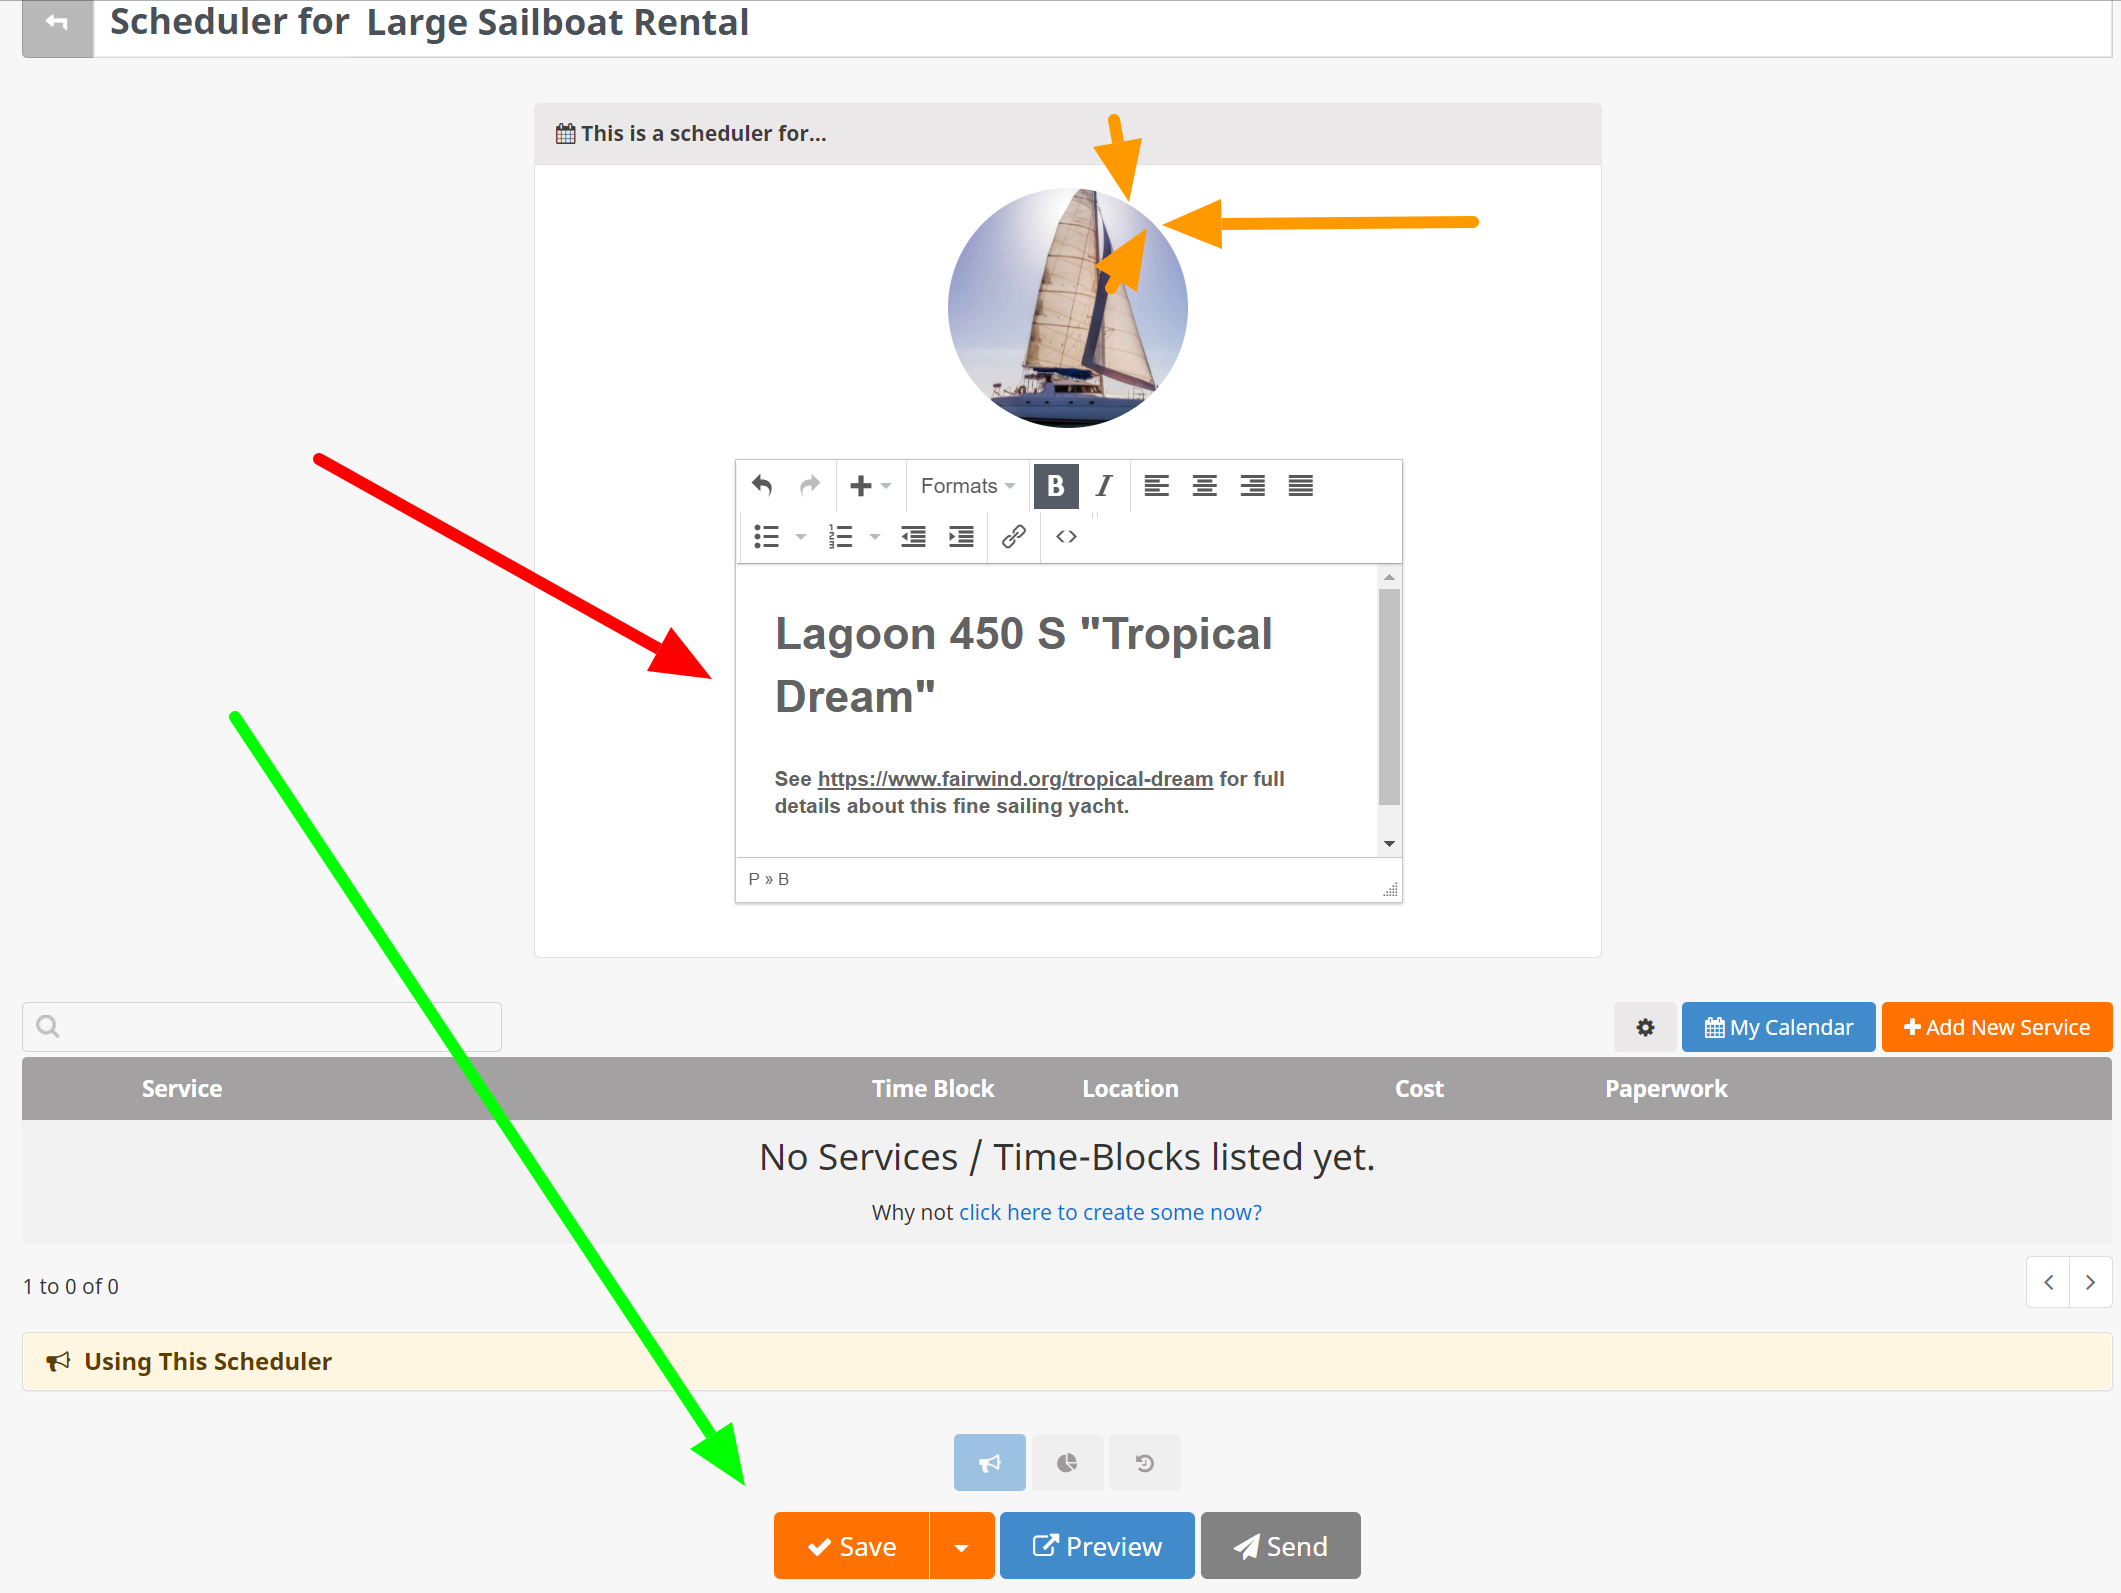
- TIP: You can link to external pages here too in the description, and add some formatting. This will show on the front-end.
- RED – be sure you have some info here
- ORANGE – to change the photo just hover the photo and click the edit icon that appears
- GREEN – when you’re done, click Save to save your Scheduler Details
- Next, create “Services” aka “Appointment Type”, which can be free or paid, and have various options. Click the orange Add New Service button right above the main table. Want to offer full day, 15 minute, 2 hour appointments? This is where you do that. You can offer any number of appointment-types, any of which can be free or paid and/or require paperwork (of course with electronic signature). When done, click Save.
- Next, repeat as many times as you like for each appointment type. You don’t need to over-think any of this, because you can change things anytime, and/or add more anytime.
- Once done, you can find your scheduler(s) at https://swiftcrm.com/is/share/ (YOUR USERNAME HERE) /Schedulers/. You can link to a specific scheduler, of course, and also to a specific appointment-type i.e. dental cleaning, which will skip the first step (to choose their appointment type).
This entry scheduled for improvement and update Sept 2020. If you need help on this module, just contact our support team.
Related: WordPress plugin; scheduled to be updated Oct 2020.
Keywords related to this support entry:
- free appointment scheduling software
- best appointment scheduling software for small business
- medical appointment scheduling software
- appointment scheduling software for multiple users
- free scheduling software
- online appointment scheduling
