A “Session” is an doc + data filled into it.
Usually this is used for sales, but it’s also good for HR packets and other complex forms.
GOAL: Fill in a form and hand it off to a client to confirm, sign, and get back to you.
Here’s the short overview…
Note there are 2 Modes to Sessions:
- SALES “ACTIVE” MODE: Parties are known – “Backend Mode”.
Example: Sales Contract for a specific client. - WEB “PASSIVE” MODE: Parties are unknown, and automation rules are created based on role. The first party to eSign inputs the email of next party / parties (i.e. temp worker fills out employer’s info). Example: Temp Staffing Agency Timesheet, or a form sitting on the web that can be filled out anytime.
Assuming you know who the parties are (i.e. “Sales Mode”), you have 4 ways to create sessions, which are
- FRONTEND – Simply start filling out the doc with your client’s info. This is designed for use over the phone, or when you know some info about the person. You need, however, the option for “Save Incomplete” to be turned on in the advanced options at the far bottom.
- BACKEND – From the logged-in main part of SwiftCloud, you can also…
- Create it from the Doc itself, or click the Send button at the bottom
- You can do the same basic idea from the Contact Detail
- You can also do the same from the Workroom, if you have one shared; this is used for when there are multiple people (more than just 1 client-role).
From the backend i.e. when you’re creating a sales contract for a specific deal, you have 3 ways to create a session, which are
- From the frontend of the doc, as long as you have “Save Incomplete” on – you can just start filling out the doc as the client, then click save. The client will get an email to take over and sign. This is one of the easiest, day to day.
- Backend from the Doc Editor
- From the Contact Detail
In all of these, when there are multiple parties, the social workroom will be created as normal. If you have 5 people sign with 3 different roles (i.e. 2 business partners or husband+wife might fill one role), then you’ll have a workroom shared with 5 or 6 people (6 total, if you don’t fill one of the 5 roles).
Examples:
- e-Sign docs that require multiple parties to sign, and Party A has signed but not yet Party B
- Complex forms on which a user saved their session, so they can return later – such as for a business financing application requiring tax returns
- HR “Envelopes” for employee onboarding that that are a bit complex and thus warrant the user saving their progress as they go, so if for example their laptop lost internet connection, they’d still have most of their work without starting over
- Sales Contracts on which you fill in most of the contract details so that when the client gets it, they just need to verify some things and sign it. Fields can be unlocked (say, spelling of their last name) or locked (say, a price) and even tied to a specific role (buyer-fields vs. seller-fields).
HOW TO USE SESSIONS – It’s easy!
You can access an existing session or create a new one from one of two places:
- Contact Detail – click files at the bottom, or add new – OR
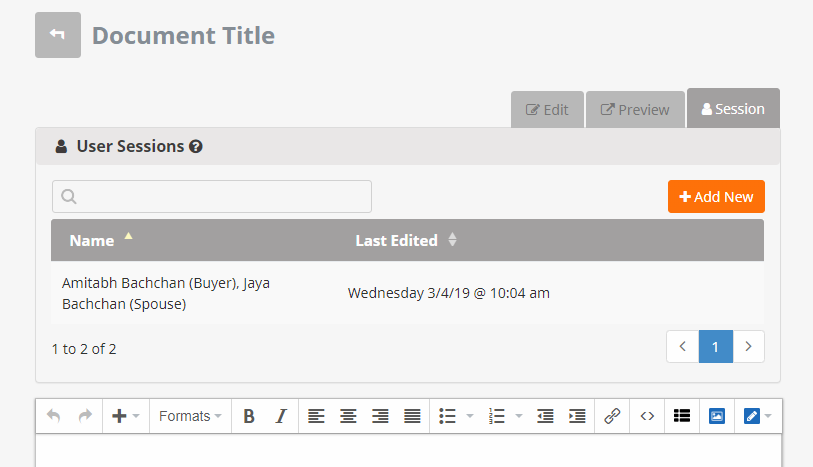
- The file itself – click the Sessions tab. Once you click it, you can see recent sessions and/or click add new.
Here’s the view from the doc editor backend… to create a new session simply click the orange Add New button, of course; it will ask you who to add and what role they play if needed. If you only have one role in the doc, the system won’t ask.
You can also click any name to bring up an existing session.
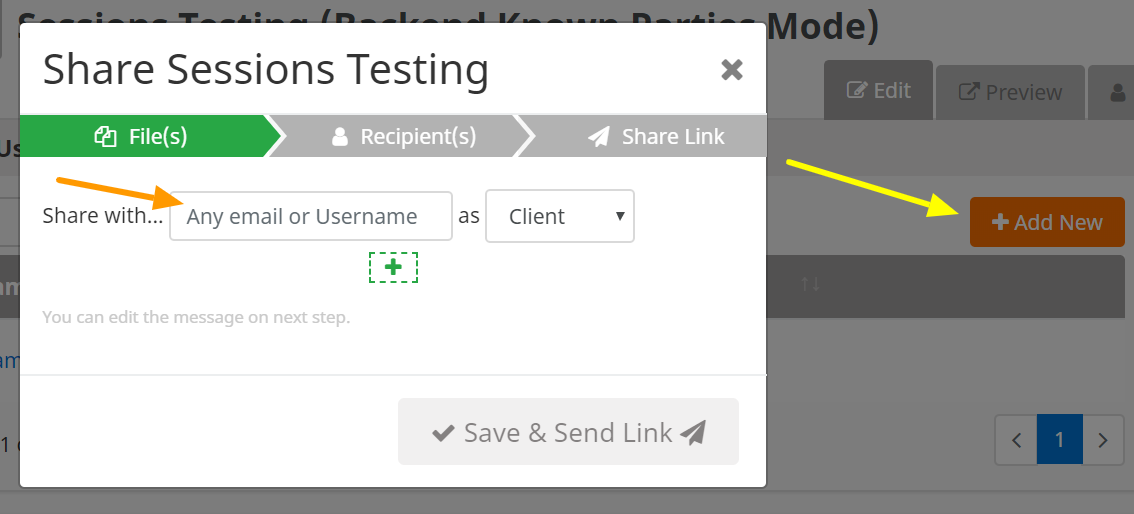
Click the Add New orange button top right (yellow arrow) then fill in a name or email into the “who-box” (orange arrow) and define a role.
TIP: The roles should correspond to your doc. You also fill a role (i.e. vendor, supplier, employer, agent).
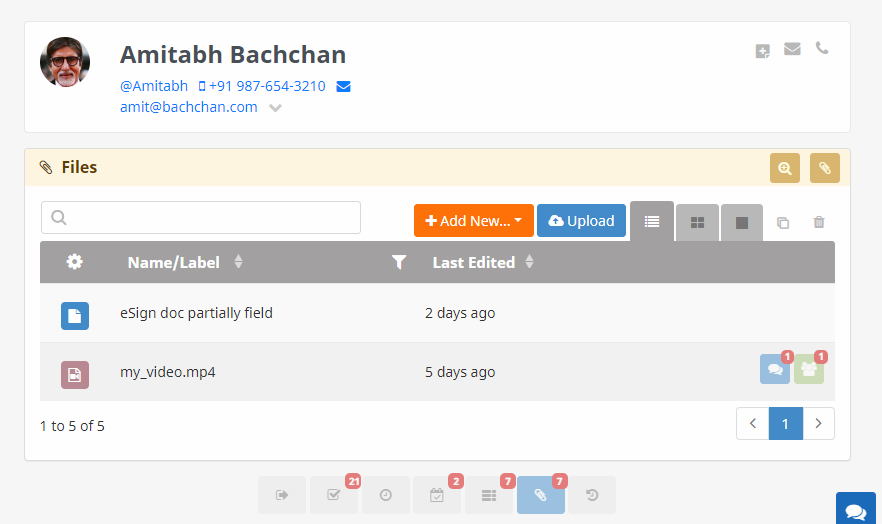
Here’s another way of getting to the same sessions – from the user’s contact detail page. Simply click the link in the table, or click the Add New if needed.
As always, if you have any questions let us know and we’ll update this page.
